One of the best parts of going on vacation is checking out the stores and finding new items for our collections. While we were on vacation this summer in Saugatuck, MI we ventured over to the town of Douglas and checked out the stores there. In one that was going out of business we found a mermaid I couldn’t resist even though we haven’t found room in our new place for all the ones we already had! I loved the miniature weather vane but also artist Katie McConnell’s tagline “It’s okay to be a little vane.” Some of the vanes had jewels hanging from the bottom but the mermaid just had a place for one so I used wire to wrap a shell we found on the beach and created a souvenir as well as a new mermaid for the collection. It’s a little ironic, I guess, that she actually comes from Cape Cod. I hadn’t hung anything on the bottom curve of the mermaid shelf here so I had the perfect place for her.


In Saugatuck we went to Amazwi a store we had missed last year. This “contemporary art” store was filled with art from around the world including a decorated gourd that I think is probably from Africa or maybe South America since those look like coffee beans on top.

It found a home with one of the lizards and other pieces on the sideboard.

My favorite project this year was June and July’s chandelier sculptures. Inspired by hanging art especially the Healing Machines of artist Emery Blagdon and utilizing a wooden mobile that had been used for another hanging collaboration at the museum before, Liz conceived a light/sun chandelier to combat the long Chicago winter.

The middle top photo is one of Emery Blagdon’s Healing Machines
Pipe cleaners, yellow “post its”, and plastic milk bottle rings were the consistent materials. Other materials we introduced throughout the project were beads, buttons, ribbons, yarn, fabric, tinfoil, feathers, flowers, sequins, popsicle sticks, old jewelry, and tissue paper. What I loved about the project was how differently guests used the same materials. Also that many families made seperate pieces and then combined them – a collaboration for the collaboration. The wooden mobile frame was attached to the pulley system and lowered each day.
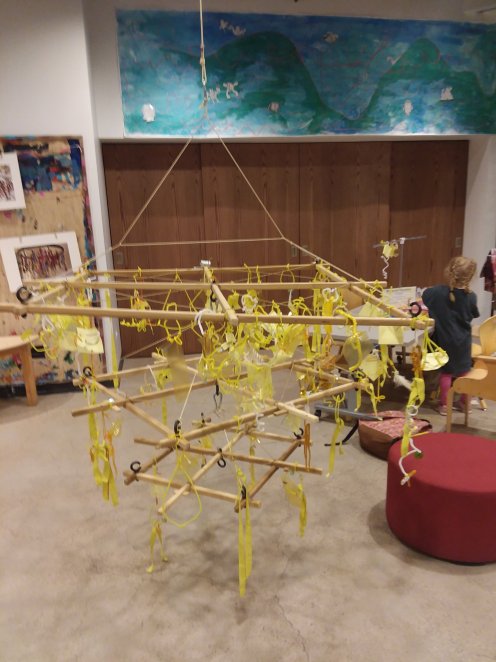


Here are some closeups:

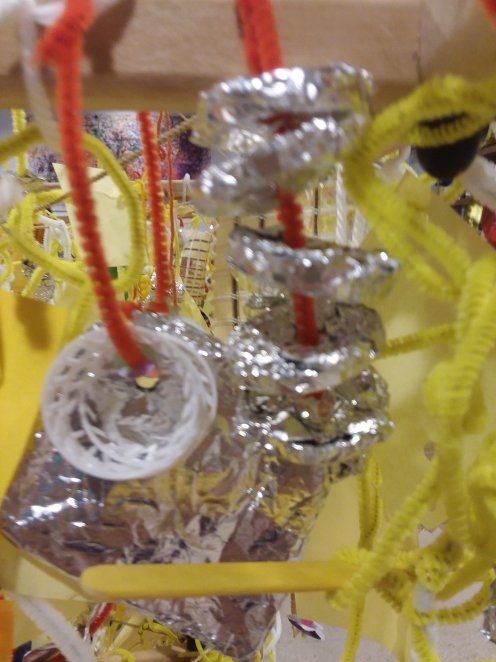
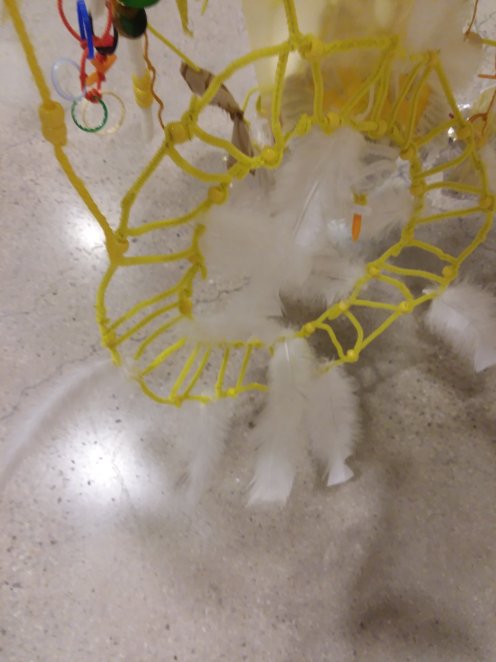
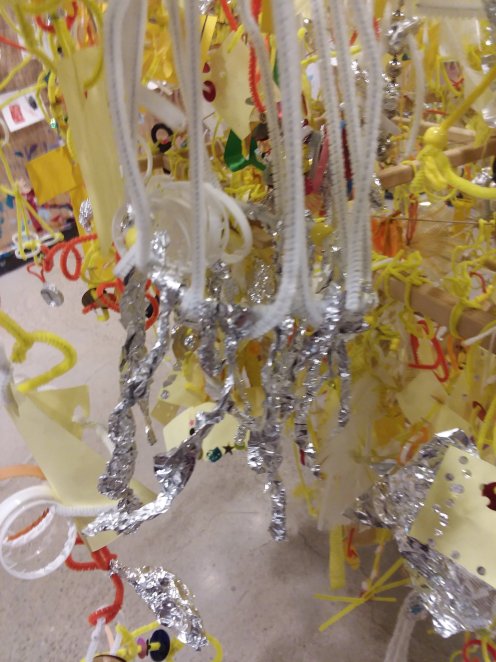
Probably the most valuable thing I learned from Liz this year was what an amazing sculptural material tinfoil can be!

Artist and community activist Diotzinantzin Rios-Sierra came to the art studio this Spring. The Children’s Museum was one of the sites that made mosiac butterflies to be installed along Armitage Avenue as part of a “Here to Stay” Logan Square Neighborhood Association initiative. Before they began to work on the butterflies, guests participated in a discussion with the artist about mosaics and migration and butterflies as a symbol for immigration.
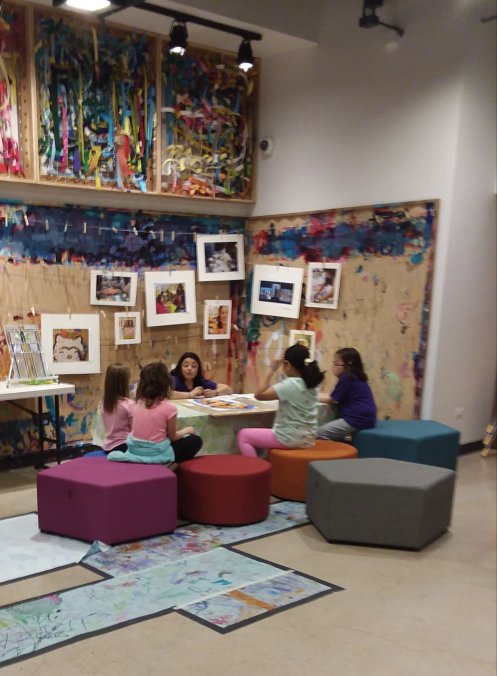

The installed butterflies can be viewed at: www.instagram.com/p/B0ZKElahIni/
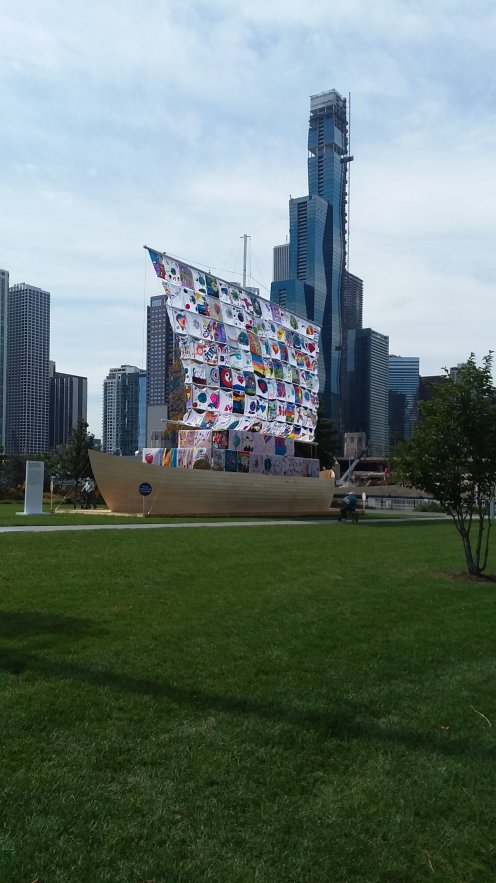
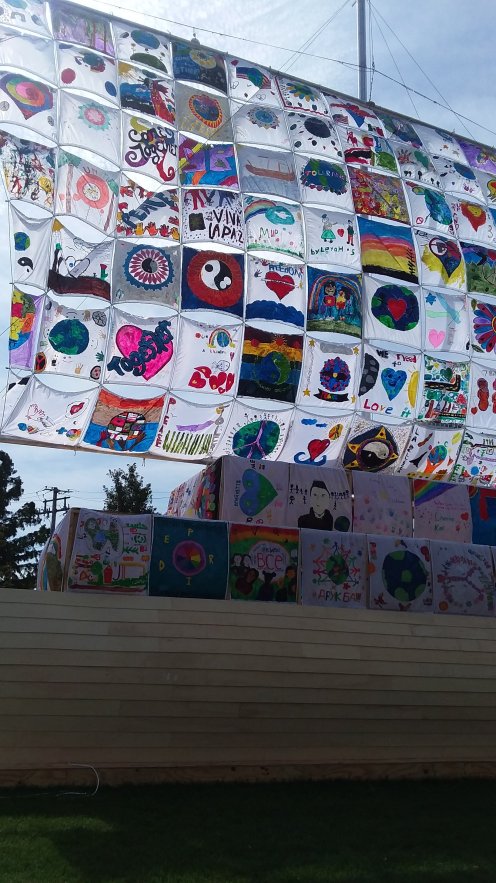
I wasn’t volunteering the day schoolchildren came to create drawings on silk for the Ship of Tolerance sails. The Ship of Tolerance is a multi site conceptual art project launched by the Ilya and Emilia Kabakov Foundation that has been installed in 16 cities around the globe since 2005. New sails are created at each site and before the drawing begins questions for discussion are posed like: “What problems do you expect to see in the future and what could you do to solve them?”
The 50 foot tall ship is installed at Navy Pier in Polk Brothers Park. While it’s not in a lake like it was in the promo photo taken in Switzerland, it pretty impressive with the city buildings in the background.


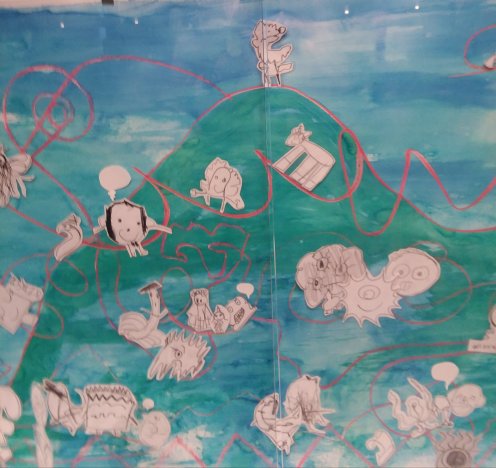
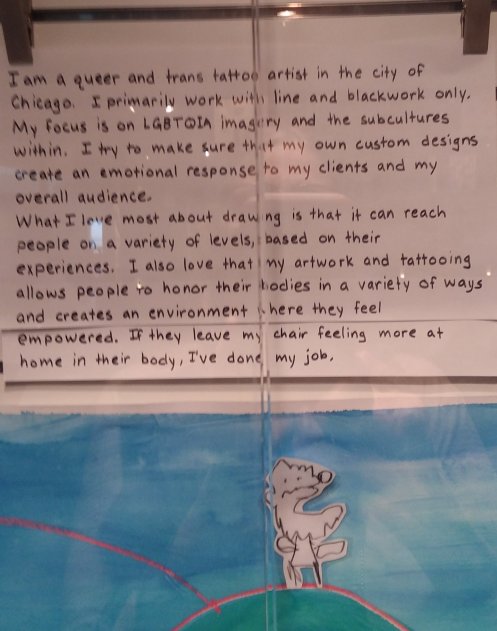
Tattoo artist Ricki Proper and artist Josh Seals who is a Chicago Children’s Museum Lead Play and Learning Facilitator came to the studio for a week of Drawing Lab and introduced some drawing techniques that visitors used to create drawings of monsters that are currently being featured in the museum display case.

Techniques included creating monsters by using different types of lines and by picking three descriptive adjectives out of baskets. Imagine starting with a jagged line. Is that the top of the head or a set of teeth? For the second technique imagine drawing a short, spiky, shy monster or a large, furry, angry one.

Using the children’s suggestions, Ricki demonstrates how to draw a line monster
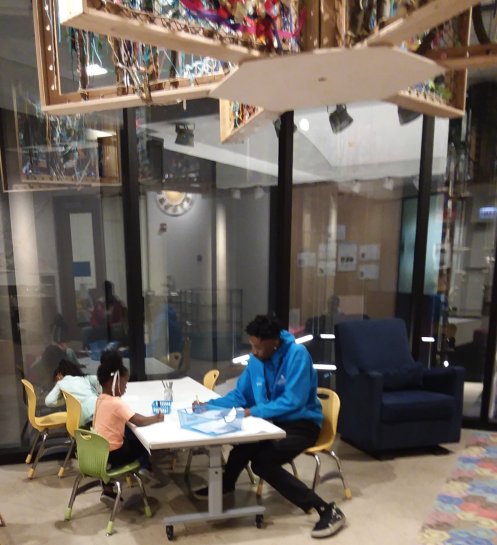
Josh and a visitor are drawing monsters suggested by descriptive words
Another technique I was excited to see in action was a technique the Chicago Imagists called “exquisite corpses”. I had not heard of the Chicago Imagists before I moved to Chicago but there was a big focus on these artists of the late 60’s this year so I’ve been learning a lot about them and seeing a lot of their work. The “exquisite corpse” technique involves collaborative drawing on a piece of paper folded so an artist can’t see what the previous artist has drawn. At the museum pieces of long paper were divided in thirds for this technique. On the day I volunteered I tried to get some children to do it suggesting that one draw a head and then passing it to the next child to draw the torso and to the third to draw the legs. Two children tried to do it with one drawing the head and legs and one drawing the torso but when it was passed back to the first child he erased what the other child had done and drew his own torso and legs. When I tried it with my nephew and his 6 year old son when I visited them in May my grandnephew looked at the result, said no, and turned the piece of paper over and drew a monster all by himself in the three spaces. Looks like a few people used the technique, though:
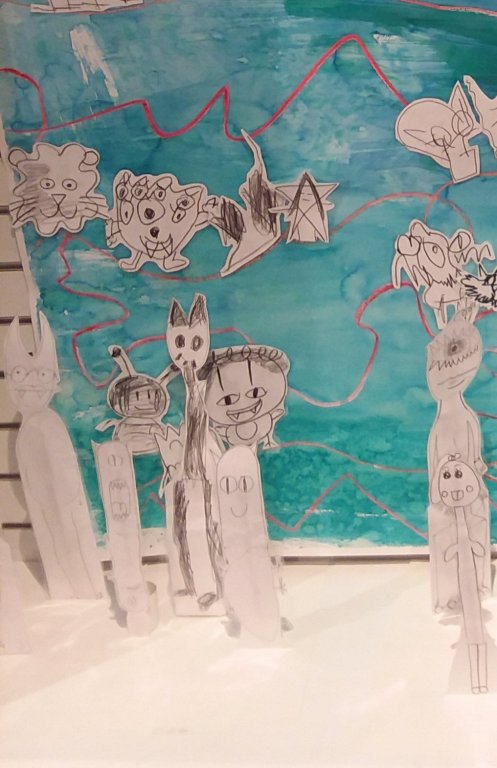
More monsters:
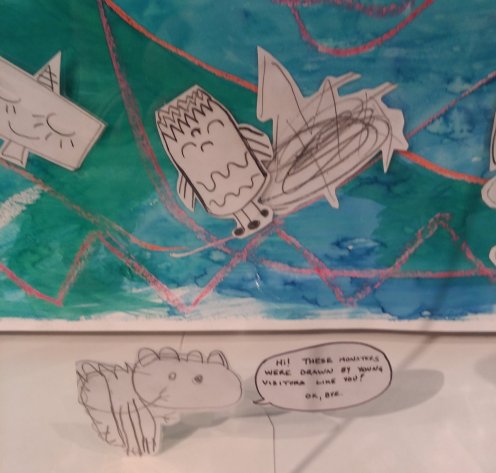
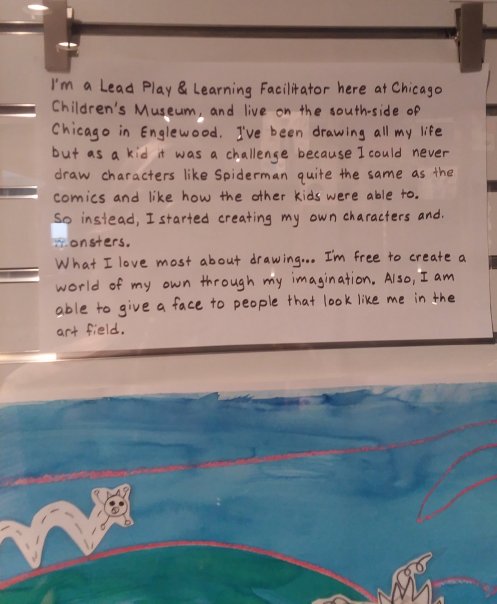
And Ricki and Josh’s artist statements:

At the beginning of June we went to the 57th Street Art Fair and found a great new piece for our gallery wall. Artist Kim Caisse calls these pieces walnut ink doodles and she does them on old Reader’s Digest condensed book covers.
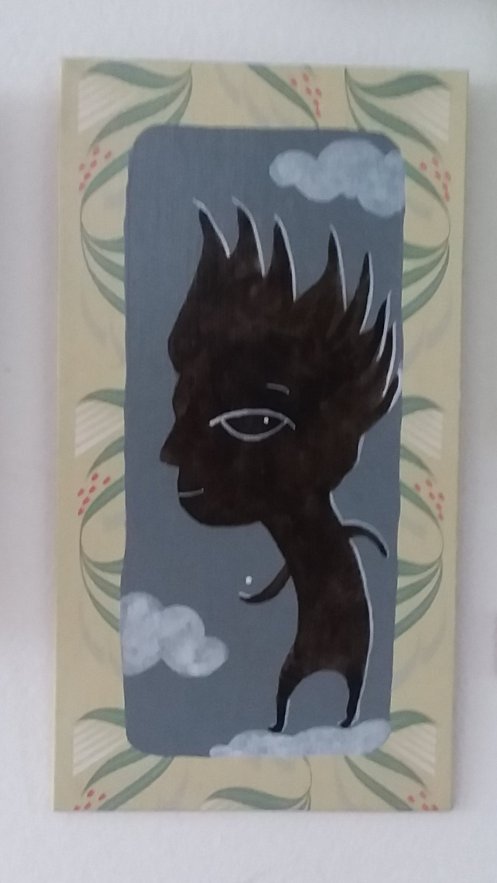
We made room for it on our wall but of course that made another space to fill. We kept an eye out through the summer when we went to other art fairs or art stores but didn’t find the right piece. After awhile I hung one of the colorful suns from our Northampton downstairs bathroom there as a placeholder and I had started to think it might have to become permanent. But then this weekend we went to the Lakeview East Festival of Arts and found the perfect piece!
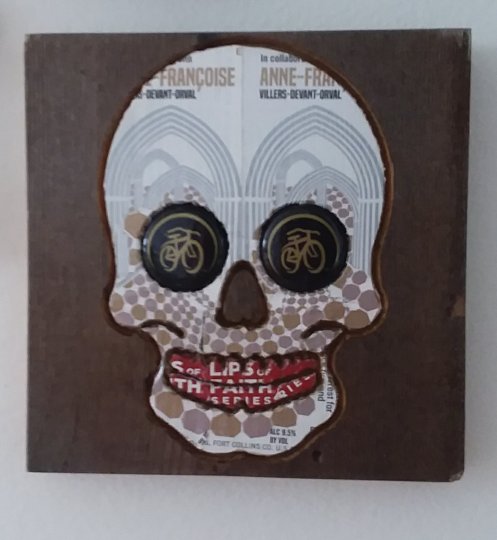
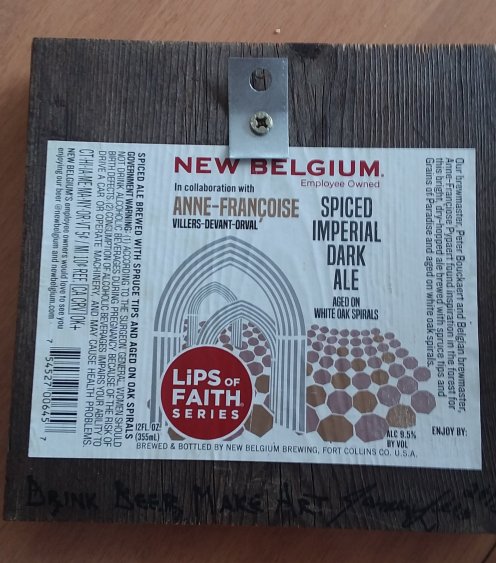
Artist James Lee makes “art from beer- related things.” In addition to amazing large mosaic pieces created with bottle caps he makes portraits of cats and dogs using beer bottle labels and bottle caps. But he also had the skull made from two New Belguim Spiced Imperial Dark Ale labels. He glues an intact label on the back.
The bicycle cap eyes are from the same bottles. I love how he used the arches and dots of the label to create the eyes and the “Lips of Faith” portion to create the mouth.
It fit the open space perfectly. We could even use the same nail we had used for the sun placeholder.

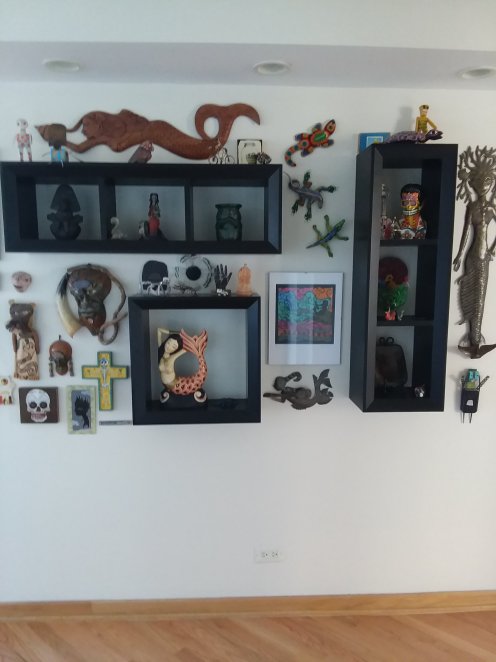
One of the things I appreciated about both of these artists was that while they also have pieces that sell for much more they also bring some affordable (to me) pieces to the art fairs.
Both artists are on instagram:
Kim Caisse @kimcaisseart
James Lee @DrinkBeerMakeArt

When my NYC niece came to Chicago for library conference and a visit I was excited to bring her to the Chicago Children’s Museum art studio. So when I went to visit her she was excited to bring me to the Children’s Museum of the Arts (CMA).
CMA is located in the SoHo neighborhood of Manhattan. It has several studio spaces, two gallery spaces, a relaxing space, and a huge lobby.

If you look up you can see the relaxing space. Not sure how relaxing it is as it contains these unstable pieces.

At the end of the lobby hall there is an interactive art piece and the door to the right of that leads to the stART studio for children 5 and under. It has “basic art materials including playdough and flubber” and a dramatic play, music, or theater area.
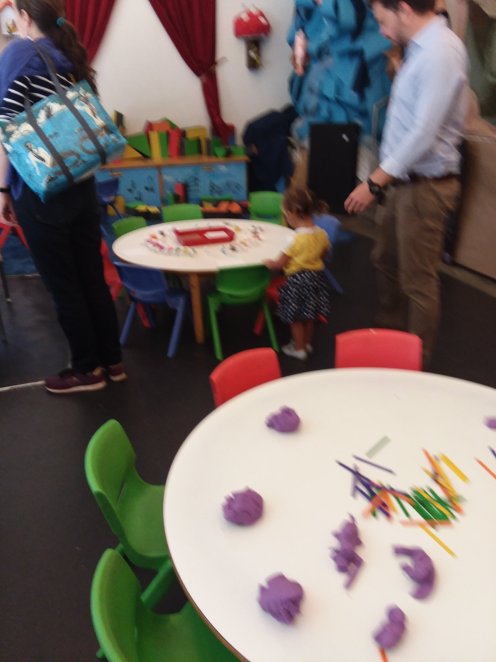


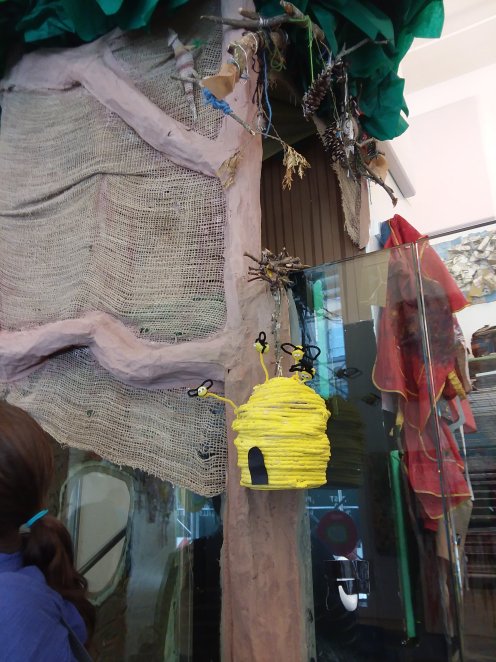
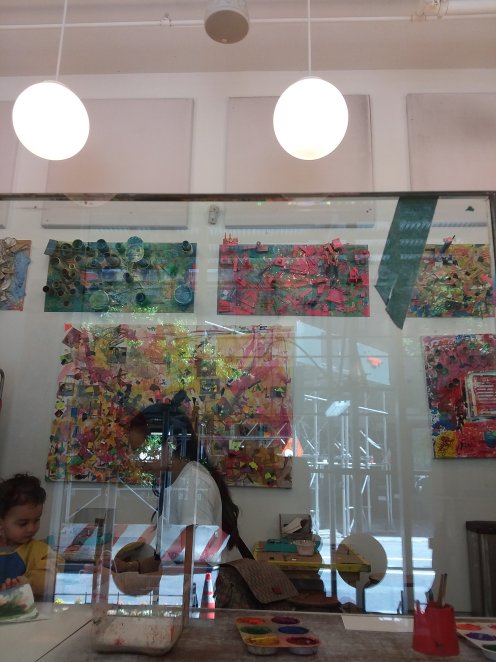
This picture of the elevated space is a little weird because I was shooting through a piece of glass so you can see a reflection of the building across the street.
At the other end of the hallway is the Fine Art Studio. This space is divided in two by an amazing sink.
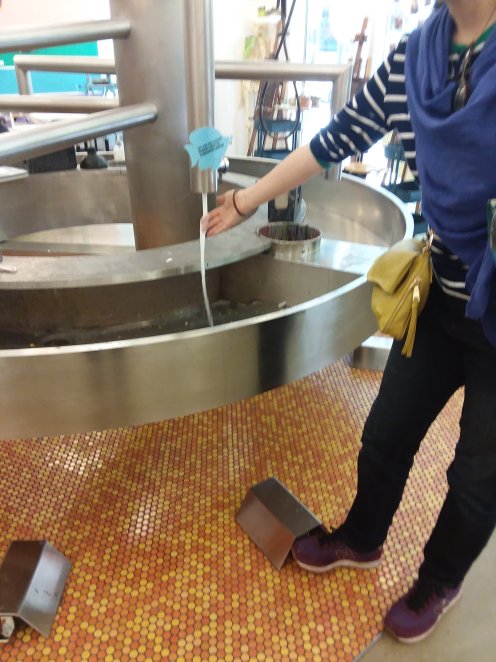
My niece who says they had this kind of sink in the shop at her high school demonstrates its use
There are two rotating workshops – one at each end of the studio – as well as an area where guests can draw or paint.
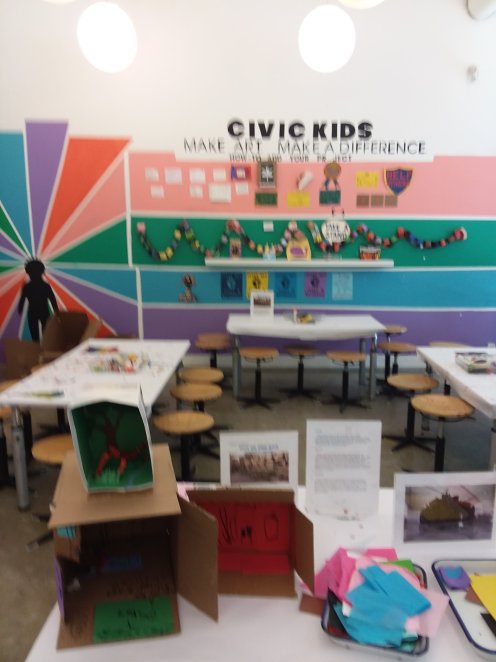
At this end the project was a collaborative box structure inspired by the artwork of an artist whose name I didn’t catch. You can see pictures of the artist’s box structures sitting on the table but unfortunately I didn’t get close ups.
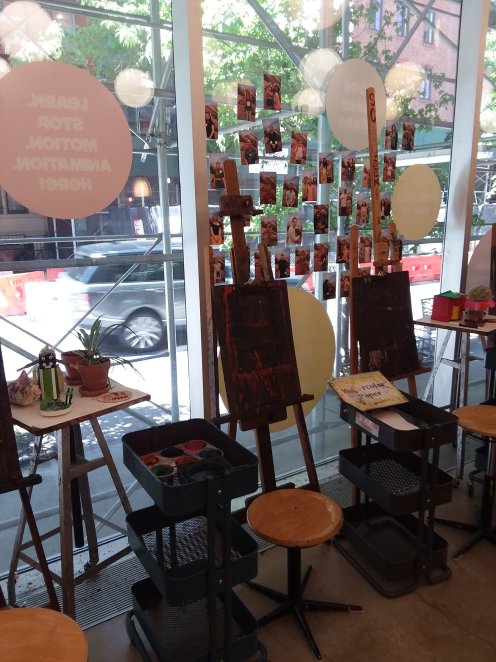
These are the always accessible areas for painting and drawing which are in the middle behind the large sink.
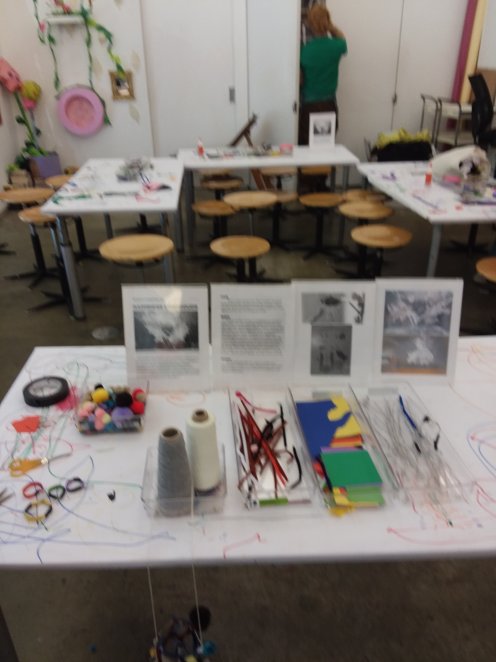
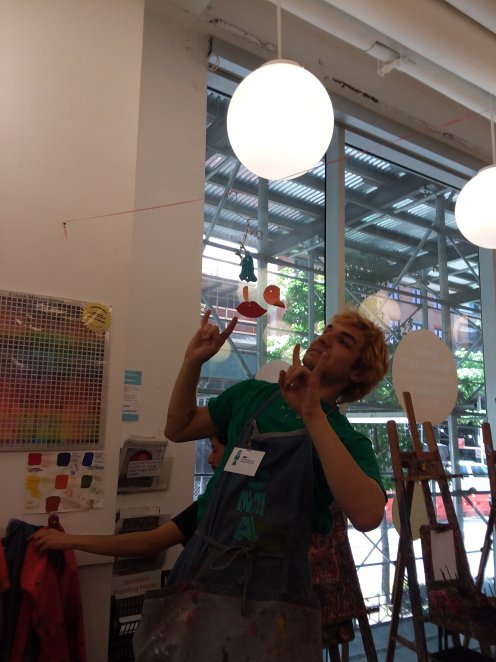
On the other side of the Fine Art Studio the project “Happiness Chandeliers” was inspired by the installation that was currently in the large gallery space “Breaking the Glass Ceiling” by E.V. Day.
The Gallery space has rotating exhibits of emerging, established, or child artists that rotate several times a year. The large gallery space is also home to the Clay Bar.
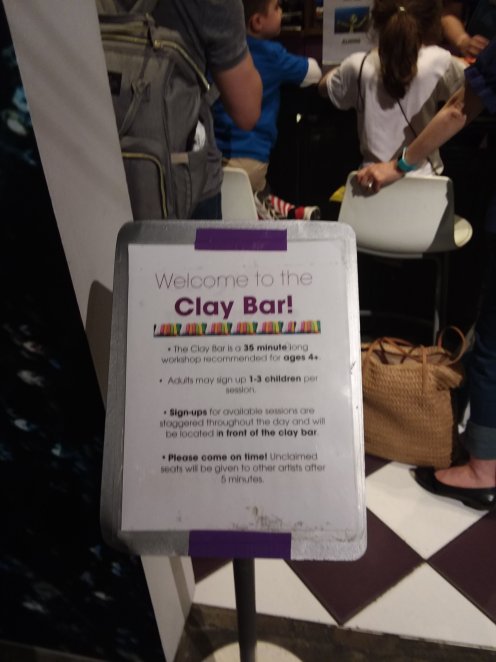
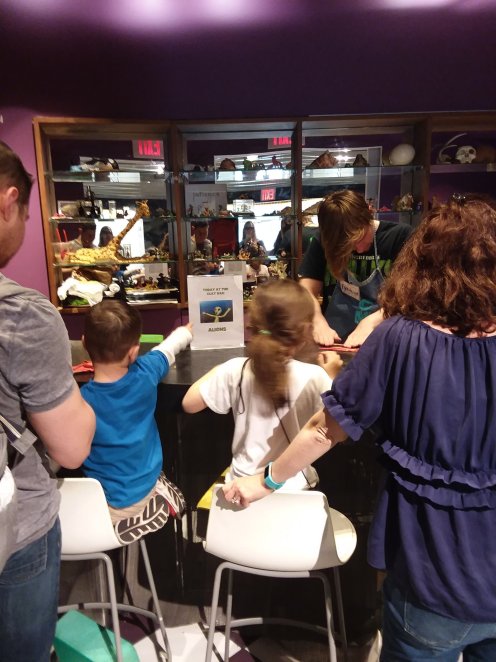
The museum has another smaller gallery, a Media Lab, and a Sound Booth for teens and maintains a permanent collection of over 2000 paintings and drawings by children from over 50 countries. These can be viewed on Flickr.
The sign in the lobby says “The mission of the Children’s Museum of the Arts is to introduce children and their families to the transformative power of the arts.” The website adds “by providing opportunities to make art side by side with working artists.” In addition to the opportunities to do so at the museum and at classes and camps they also have community programs which work with underserved and at risk communities funded by the museum fees for admission and classes.


For the second and third months of Drawing Lab we focused on dots and lines. In March the tables were covered with paper again and the easels were set up in the open space. Then we randomly added some colored sticky dots. We also gave some dots to each guest and suggested they add them to the paper and then create a drawing by connecting the dots or using the dots as a starting point.
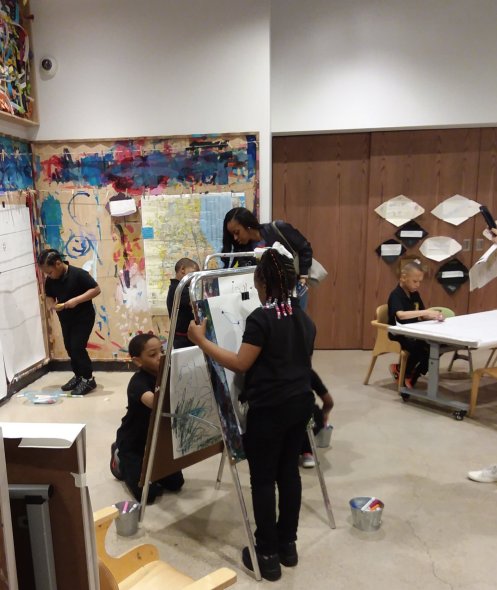
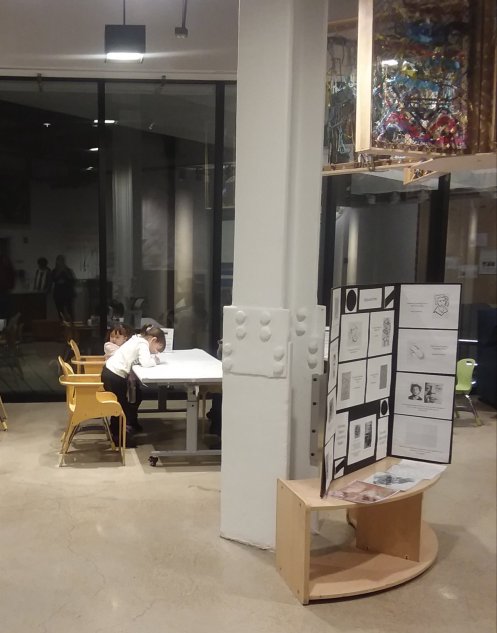
A tri-fold board I made with artist quotes about dots and lines in their art can be seen in the forefront of this picture. It poses a question derived from my favorite quotes – from Wassily Kadinsky, “Everything starts from a dot” and from Paul Klee “A drawing is simply a line going for a walk.” – Can you start with a dot and take a line for a walk?
I may have overstepped my boundary as a volunteer when I brought in this board but after some anguish created when Liz suggested as much I realized that part of why I have enjoyed volunteering in the Young Artist Program is because I have been able to contribute and felt that my contributions were valued. So while I may not be quite as bold in the future I will continue to bring my suggestions and resources.
More inspiration from Liz can be glimpsed beneath the board – pictures of Yayoi Kusama’s dot rooms and part of an “extreme connect the dots” printable (google the phrase – they have thousands of dots). After one of the art educators subbed for Liz and mentioned that the pictures children were creating reminded them of constellations Liz added a few constellation pictures and included them in her introduction to school groups.

After this child connected the dots on all the tables I suggested she begin filling in some of the shapes she created.
Other resources that I contributed include the books The Dot by Peter H. Reynolds and Harold and the Purple Crrayon by Crockett Johnson. I had looked in vain for other books about dots and lines but have since found some great ones for next year. Lines that Wiggle by Candace Whitman, The Line by Paula Bossio, and A Line Can Be by Laura Ljungkvist.
When Liz designed the Drawing Lab curriculum she intended the third month to focus on “drawing machines” which were to be contraptions like markers attached to cars. These were never created but the preparators did come through with some wooden holders that held many markers at once and enhanced May’s open ended marker drawing.
Liz also set up lots of boxes and paper in the open area and encouraged children to draw continous lines a la Harold and the Purple Crayon.

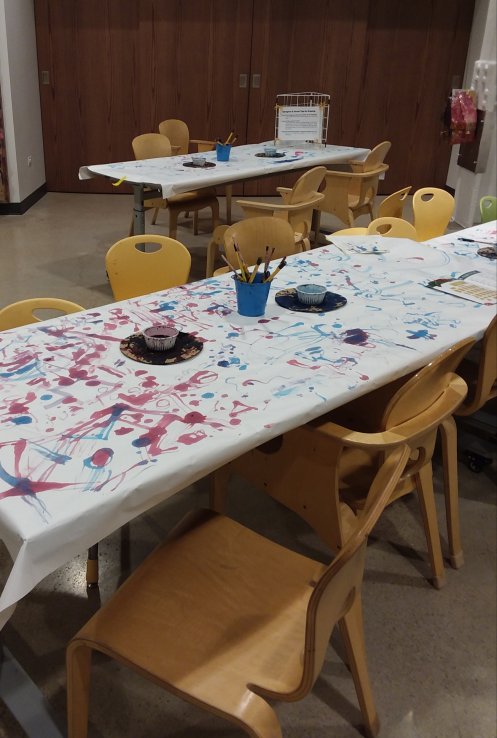
In March, April, and May we introduced several different drawing activities. We started with pen and ink which was actually liquid watercolor paint. Liz made pen nibs out of formica tile samples that had been donated and attached them to pencils. We covered the tables with white paper and encouraged children to notice all the different kinds of lines they could make with the different nibs. There were thin nibs and thick nibs and some that made two and three lines at once. Some kids couldn’t believe we wanted them to draw on the tables but then they really got into it. Some just experimented with lines and some made drawings. Grownups loved drawing too.
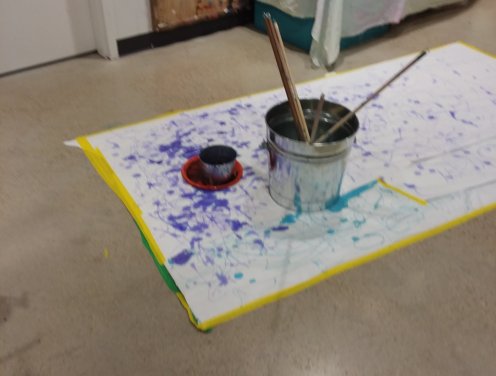
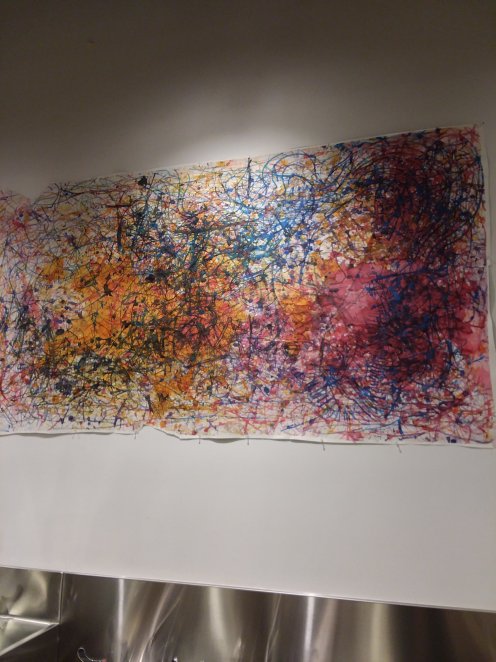
We also had a few long pens and a piece of paper taped to the floor. One of the museum preparators carved nibs on the end of the long dowels. It was fun to watch how different children moved as they drew with these large pens. Some just stood still and reached out with their arms. Some walked and dragged the pen along behind them. One little girl danced as she drew. The accumulated effect of all the lines and some spills was beautiful and the finished piece is hanging above the sink now and getting lots of compliments.
We also put out trays with salt mixed with powdered tempera paint and lots of wooden tools (forks, knives, salad tongs, combs etc. from my collection) for mark making.
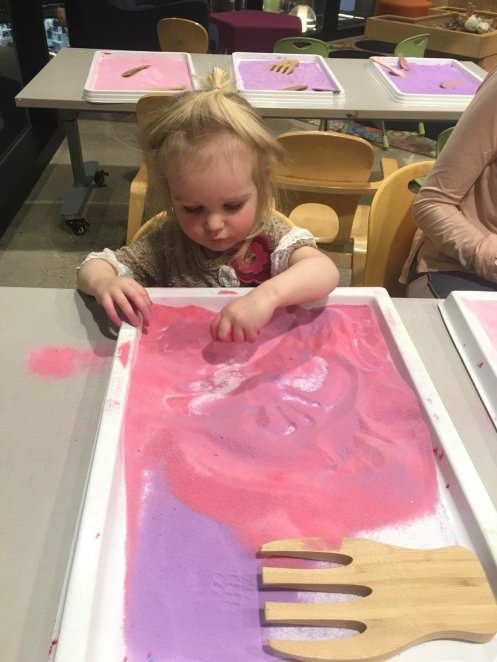
Fingers work too! We offered these throughout the Drawing Lab months.

While we were vacationing in Saugatuck last week we headed over to Douglas since we hadn’t checked it out last year. I was excited when we found a map of the town on a kiosk that featured artist decorated Adirondack Chairs but as we looked around we realized that there were no chairs. We finally found a school housed themed one “School House Days” by Judy Anthrop behind the old school house.
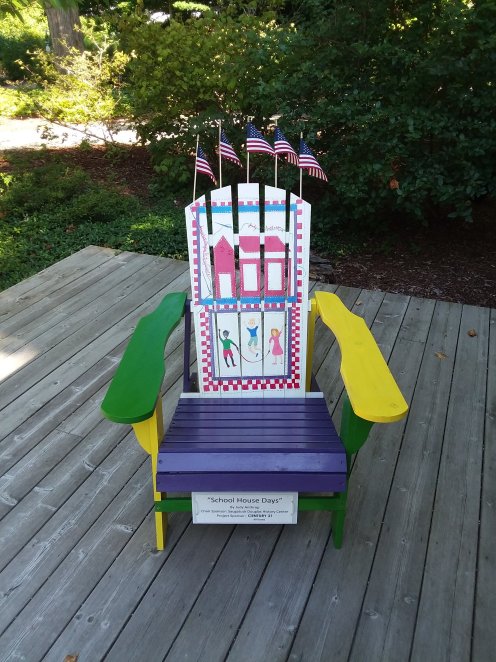
It turned out that the rest of the chairs had just been auctioned off and gone to their new homes. A shopkeeper told us that the one that was in front of her store was now on a porch a few streets over. These regular size chairs seem a lot more conducive to house placement than the oversized Adirondack Chairs I saw in Wilmington, Vermont several years ago (see post In blank they do blank).
And maybe more conducive to eventual use than the ones from my favorite artist chair fundraiser – the one we did at Nonotuck when we first moved to the Feiker school. The old elementary school had a bunch of beautiful old wooden children’s chairs and since we weren’t going to use them in the classrooms we got permission from the city (our landlord) to sell them. We had a lot of parent artists and artist friends who were excited to participate. I was lucky enough to “win” the bid on the chair by parent Melissa Barillaro’s artist brother (Joe?).
The chair sat at the top of our stairs in Northampton and I wondered where it would work in Chicago but we found the perfect place for it. One of the oddities of our new condo was a small closet space with no door. The former owners had used it as a display area for small glass animals and had installed a heavy glass shelf. After we removed the glass shelf we realized that the closet was the perfect place to put our Levy/Laroque coat rack. At first I thought I would put the small yellow chest of drawers that used to sit by my bed under it but it was too tall and then I realized the chair would be perfect.
I imagined it would be a place to sit on to put on and take off shoes but it has become more like a little table with extra hanging space. Since there is an outlet behind it, it first became a phone and iPad charging station. Then my husband started putting his keys and sunglasses on it and I realized it was a perfect place to hang bags.
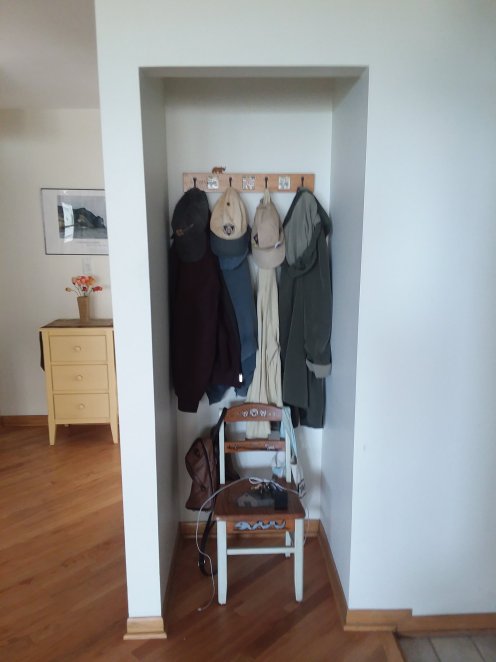
In this photo you can see one of the charging cords trailing onto the floor. A blogger I was reading the other day said the difference between photos of a home in a blog and the photos in a magazine shoot is that blog photos show the stuff one actually has on their bedside tables. So rather than retaking this photo I’m going to go with that!

When my oldest granddaughter was two I flew to Chicago to stay with her because my daughter had a work trip to London. I packed some little presents in my suitcase to be opened each morning. Over the years those suitcase presents became a tradition and during my visits to Chicago I’d be awakened by an exuberant “Wake up time Mimi” followed by a whispered “Is there anything in your suitcase for me?”.
Now that we live in Chicago there are not as many occasions for suitcase presents but since we do take vacations together I have continued the tradition. I usually try to find things that will provide an activity since there is always some lag time on vacation and it’s good to have a few things to do. Last year my younger granddaughter was introduced to the tradition and caught on quickly but this year there was no “Wake up time Mimi” and I actually had to remind them about the suitcase presents each day. This worked out pretty well though because I could remind them during one of those lag times.
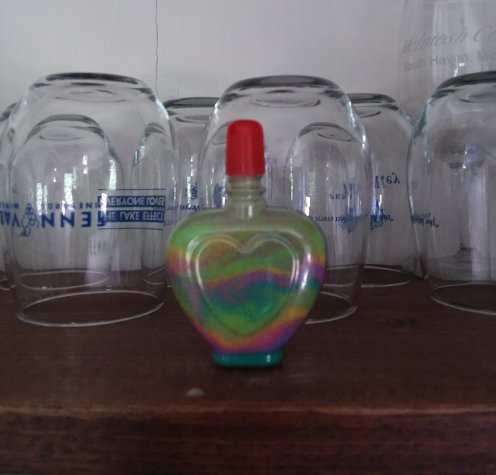
For the first day I had found a little kit for making layered sand bottles. Older layered hers very carefully and had us put it high up on a shelf to keep it safe.
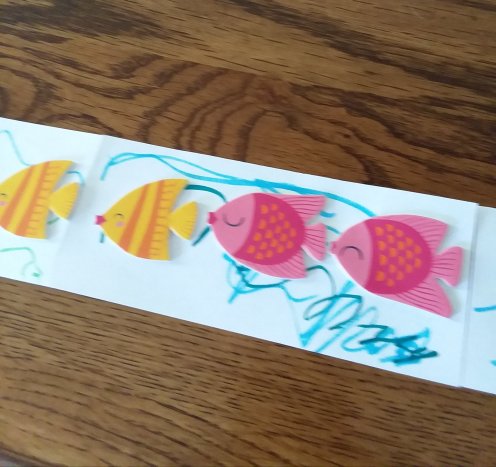
The next day Older got a puzzle and Younger some fish stickers. I had packed these with some short scrap pieces of paper and a few markers. I introduced the idea of drawing some water and she got the idea to tape the pieces together to make one long picture. It’s so long I didn’t even get all of it in the picture.

On the third day I gave them the Great Lakes mermaid book I had bought in Holland, Michigan during Tulip Time. Since the plot of this book involves special Great Lakes rocks it added another layer to the extensive beach rock collecting.
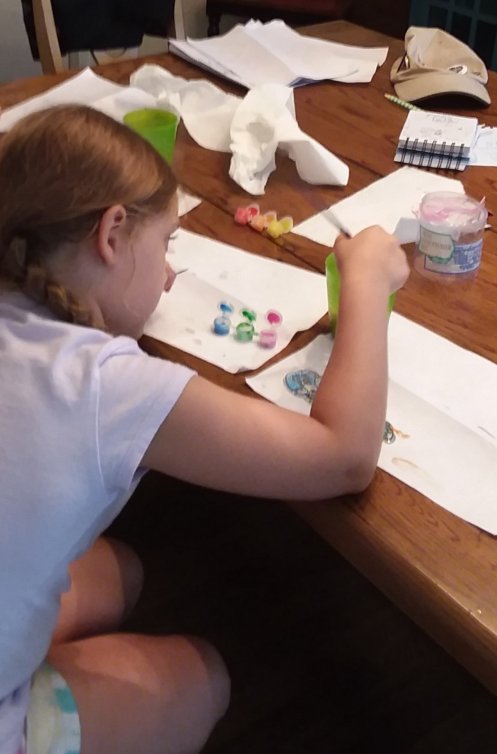
The next day was not a beach day so it was the perfect day for painting window ornaments.

And for the last day presents to bring back home, Younger got fish bath toys and Older a jump rope.
It was a little disappointing that they had to be reminded each day which made me wonder if it was time for the tradition to be retired. But when my husband was asking us our favorite parts of the vacation I realized that one of mine was doing the suitcase activities. So I think I’ll do it again next year and see how it goes.


